Skip to product information
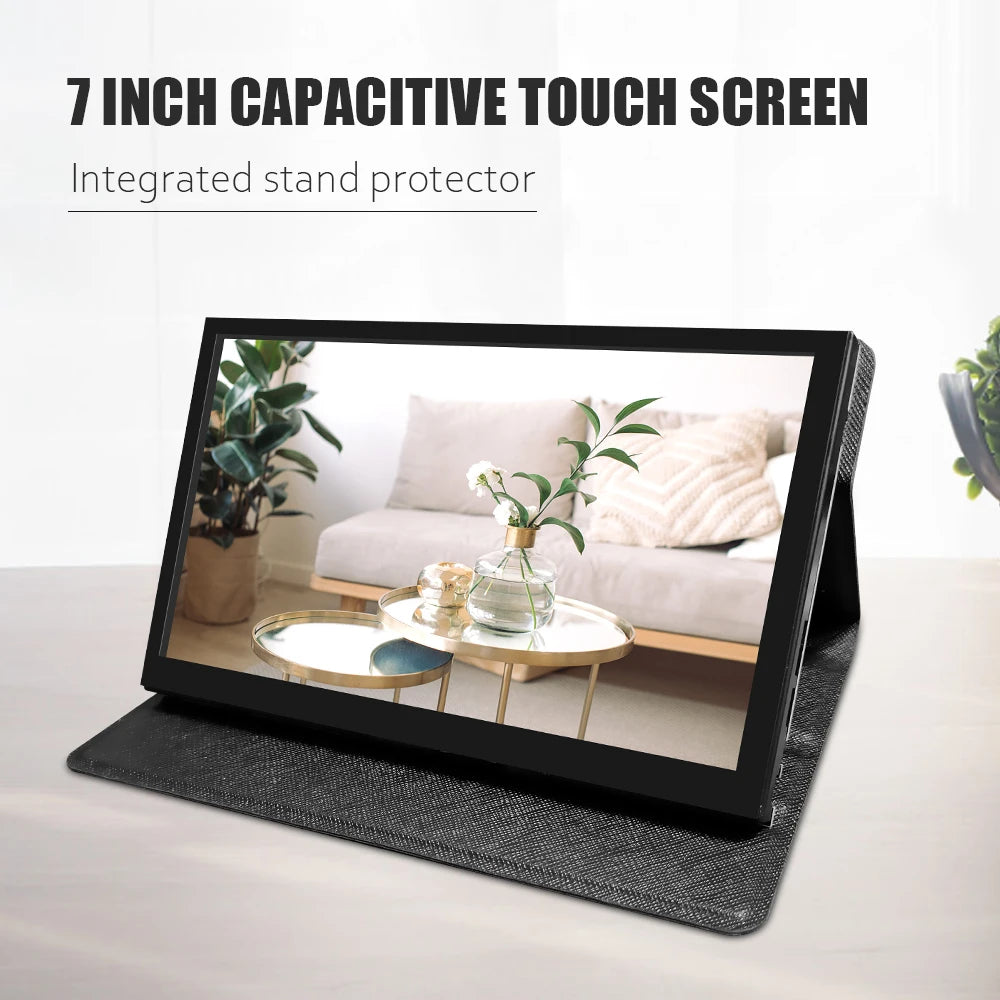


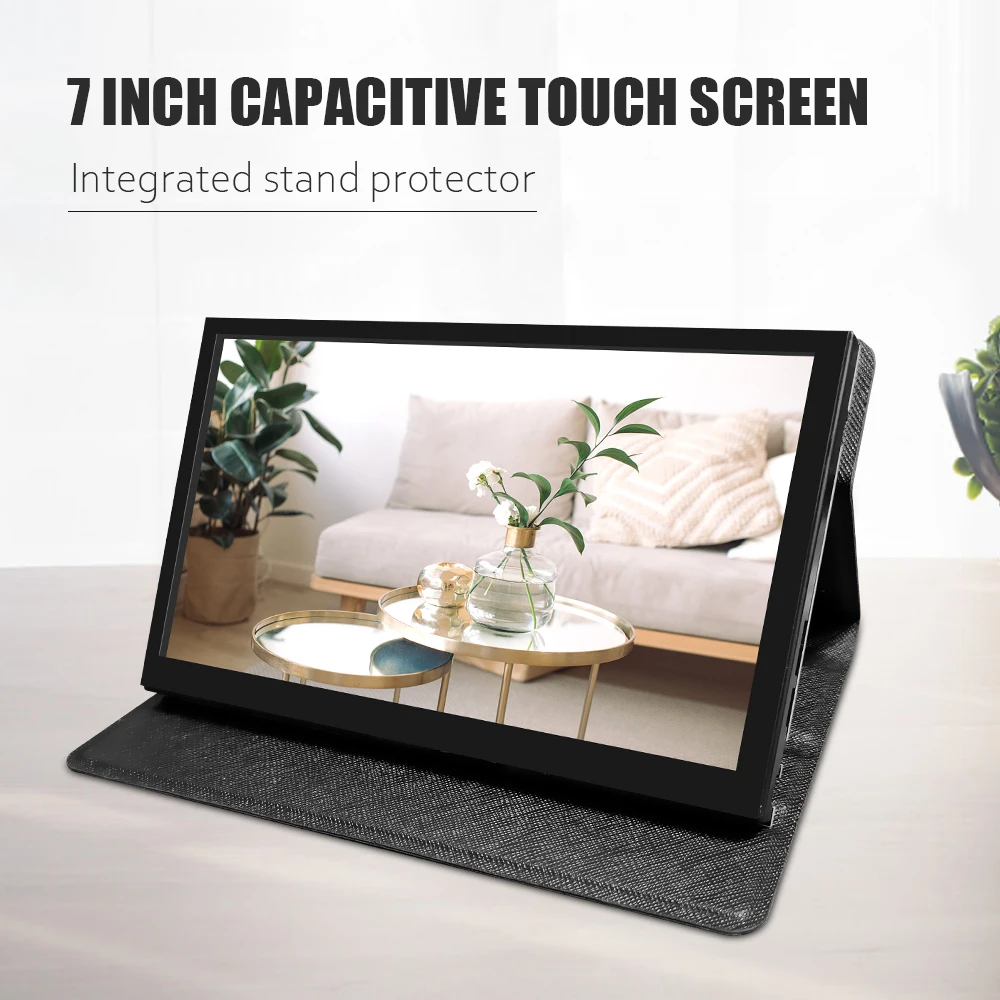
7 Inch LCD IPS Display HDMI-compatible Touch Screen With Case 1024x600 Resolution for Raspberry Pi 3 Pi4 PC Portable Monitor
Sale price
£44.99
Regular price
£88.99
Taxes included.
Shipping calculated at checkout.
Pickup currently not available
SPECIFICATIONS
Application: Desktop
Black and White Response Time: 1 ms
Bracket Type: other
Brand Name: IHANFO
Brightness: 500cd/m
Built-in Speaker: No
Certification: CE,RoHS
Choice: yes
Contrast Ratio: 750:1,850:1
Display Ratio: 16:10
Display Size: 7
High-Dynamic Range: None
Hign-concerned Chemical: None
Horizontal Viewing Angle: 178°
Interface Type: HDMI-compatible
Origin: Mainland China
Panel Type: IPS
Refresh Rate: 60Hz
Resolution: 1024x600
Response Time: 1MS
Screen curvature: None
Vertical Viewing Angle: 178°
 1.MINI HDMI
2.Micro-B/Type-C(Both versions are currently being shipped, please contact
customer service if needed)
3.Audio amplifier interface(External power amplifier required)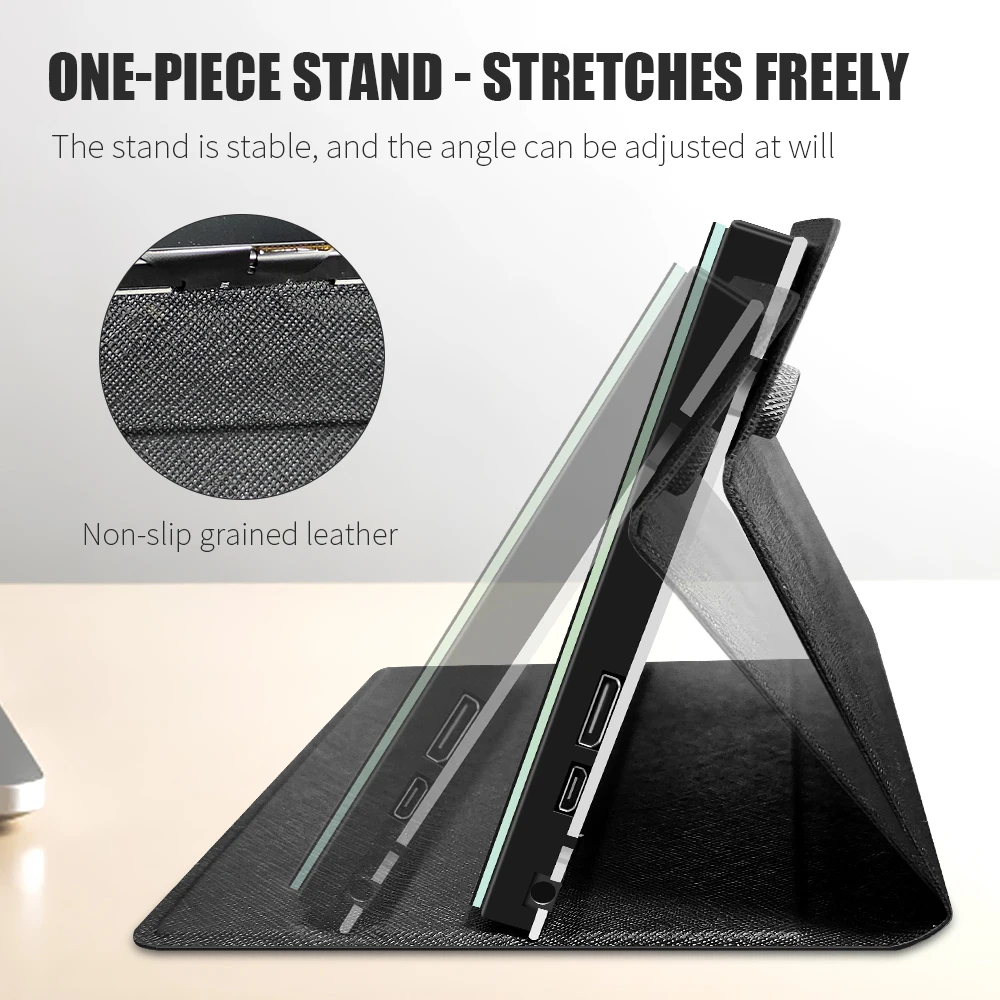


 【Product description】
🍓.7inch standard display, 1024 × 600 Hardware resolution, Up to 1920x1080 Software configuration resolution.
🍓.Capacitive touch screen, maximum support 5 point touch.
🍓.Support backlight control alone, the backlight can be turned off to save power.
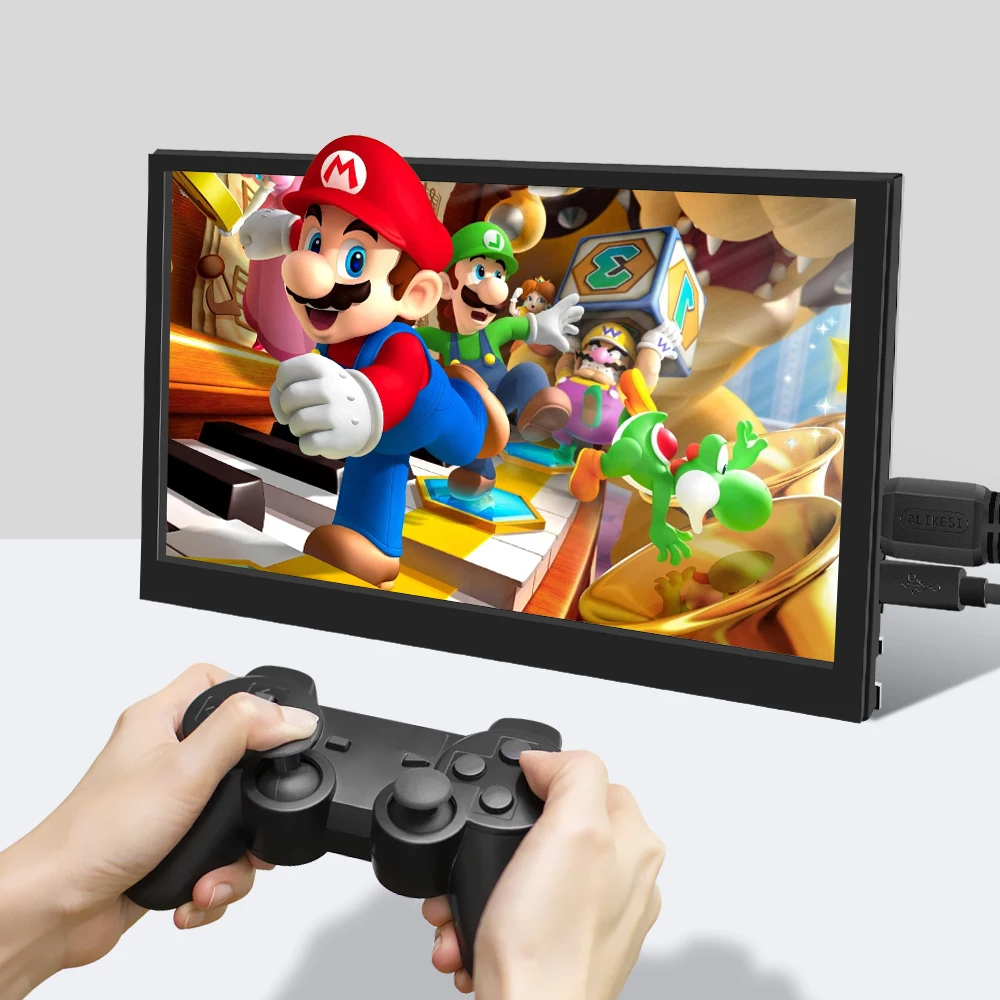
🍓. Support Raspberry Pi, BB Black, Banana Pi and other mainstream mini PC.
🍓.Can be used as general-purpose-use HDMI monitor, for example: connect with a computer HDMI as the sub-display .
🍓.Used as a raspberry pi display that supports Raspbian, Ubuntu, Kali-Linux, Kodi, win10 IOT, single-touch, free drive.
🍓.Work as a PC monitor, support win7, win8, win10 system 5 point touch (XP and older version system: single-point touch),
free drive.
🍓.CE, RoHS certification.
【Product Parameters】
🍓.Size: 7.0 (inch) 🍓. Resolution: 1024 × 600 (dots) 🍓. SKU: JRP7006-CASE
🍓. Touch: five-point capacitive touch 🍓.Dimensions: 166.5*124.12 (mm) 🍓.Weight: 380 (g)
How to use with Raspbian/Ubuntu Mate/Win10 IoT Core System
Step 1, Install Raspbian official image
Download the latest image from the official download.
Install the system according to the official tutorial steps.
Step 2, modify the “config.txt”
After the programming of Step1 is completed, open the config.txt file of TF card root directory and
add the following code at the end of the file, save and eject Micro SD Card safely:max_usb_current=1
hdmi_force_hotplug=1
config_hdmi_boost=7
hdmi_group=2
hdmi_mode=87
hdmi_drive=1
display_rotate=0
hdmi_cvt 1024 600 60 6 0 0 0
Step 3, Drive the 7inch HDMI JRP7007 with the Raspberry Pi
Insert the TF Card to Raspberry Pi, connect the Raspberry Pi and LCD by HDMI cable;
connect
USB cable to one of the four USB ports of Raspberry Pi,and connect the
other end of the USB cable to the USB port of the LCD;
then supply
power to Raspberry Pi; after that if the display and touch both are
OK,it means drive successfully (please use the full 2A for power
supply).
How to use as PC monitor
Connect the computer HDMI output signal to the LCD HDMI interface by using the HDMI cable
Connect the LCD's USB Touch interface (Either of the two MicroUSB) to the USB port of the device
If there are several monitors, please unplug other monitor connectors first, and use LCD as the only monitor for testing.
Details
This product is crafted with quality materials to ensure durability and performance. Designed with your convenience in mind, it seamlessly fits into your everyday life.
Shipping & Returns
We strive to process and ship all orders in a timely manner, working diligently to ensure that your items are on their way to you as soon as possible.
We are committed to ensuring a positive shopping experience for all our customers. If for any reason you wish to return an item, we invite you to reach out to our team for assistance, and we will evaluate every return request with care and consideration.
Shop The Full Collection